Showing posts with label custom quilt. Show all posts

Saturday, December 08, 2018

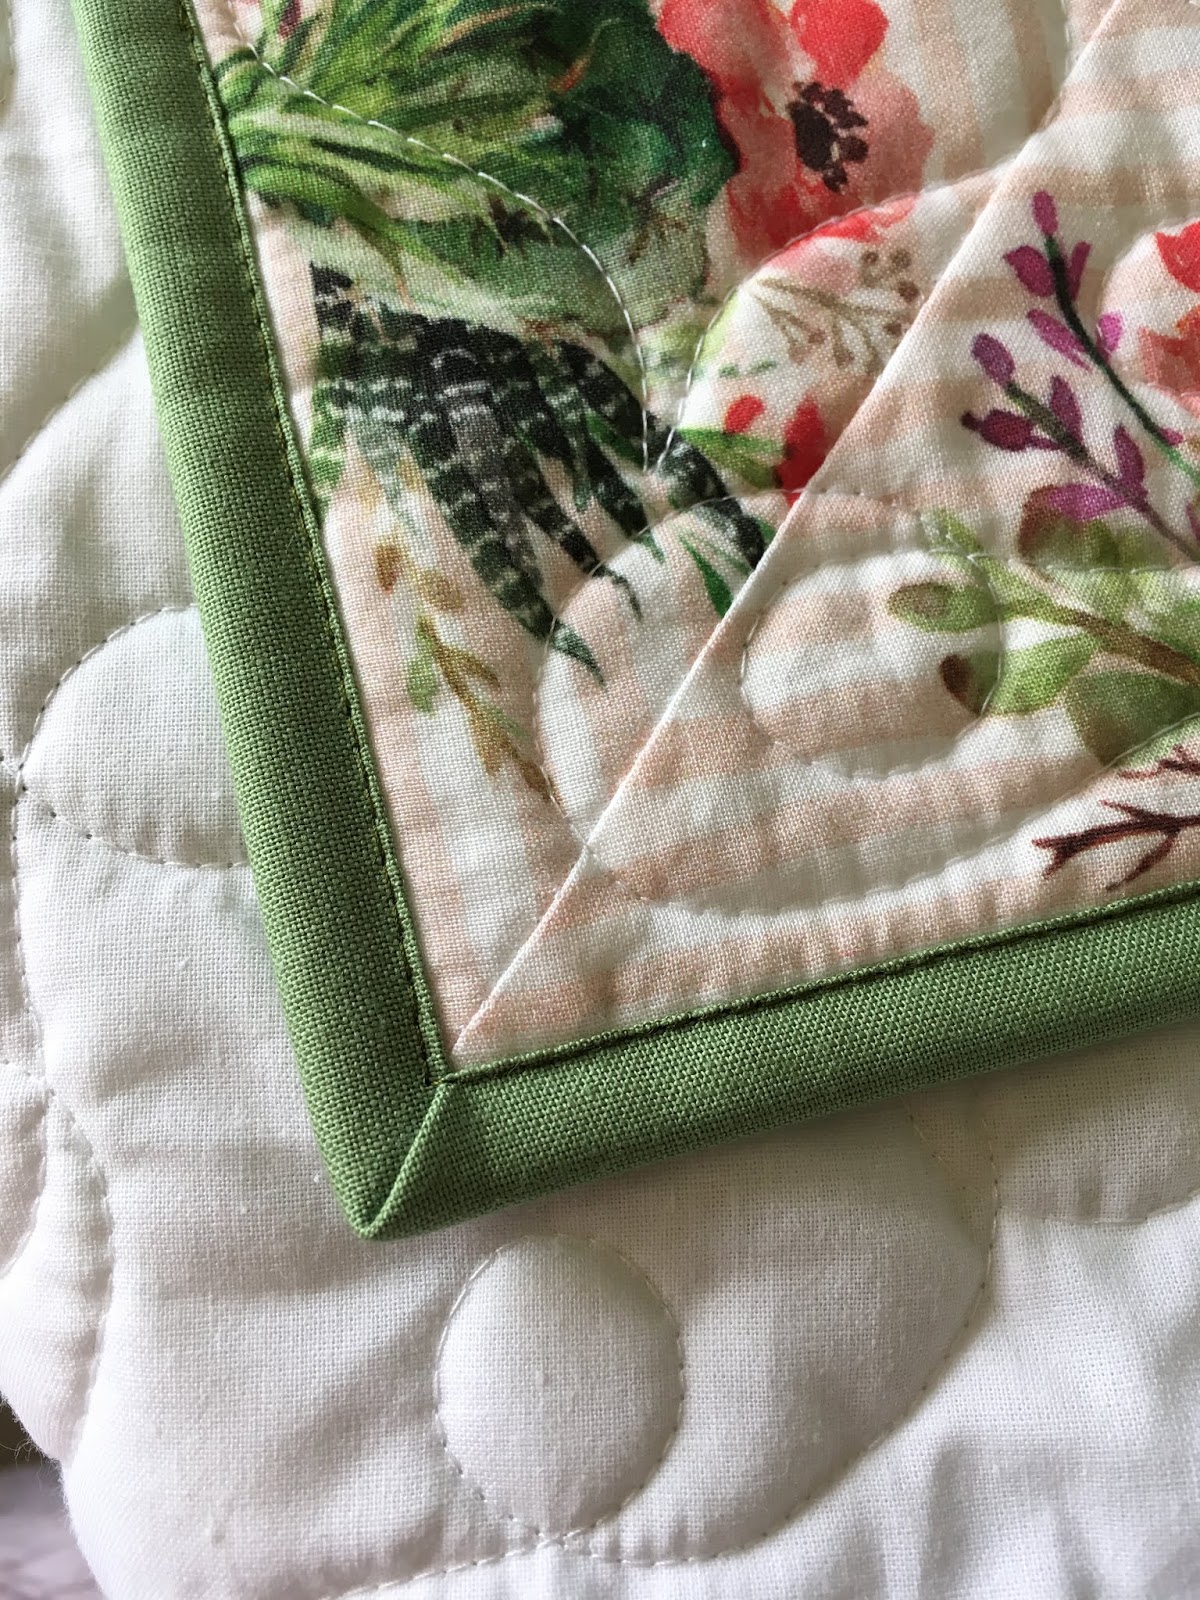
Binding, and the rest of my list, finished!

I am happy to say that I managed to finish all 5 of the projects I wanted to get done this week.  I knew it was ambitious, but I needed to get these done, so I worked hard and got them all finished.
I love how this came out!


I don't think next week will be quite as busy, at least not on the quilting front - we are hoping to get a laminate floor installed in the dining room and I'm sure that will be quite a job.  First of all, out with the old brown shag carpet - Woohoo!  Which will also mean a lot of cleaning and moving things around.  I am excited to see how it changes the look of the room, I think it will brighten it up a lot. It's a crazy time of year to do this kind of a project, but the opportunity is too good to pass up, and it's something I've been wanting for a while.  Hopefully I can get the Christmas decorations up somehow in the midst of all the chaos because I'm hosting bunco on Friday!   Well, no matter what, it'll be a fun time with my friends.

One day at a time.  Tomorrow I get to work on one of my secret projects, I've been looking forward to it all week!  And I might just make some Christmas Cookies.  To keep up my strength, you know! 


Saturday, February 06, 2016

Baby Stars

This quilt is made using pieces cut from baby clothes, thus I have named it Baby Stars. I love the bright, sweet feel of this quilt!  The color palette was chosen by the mom who sent the clothes, and it made it so easy to choose the fabrics to go with the clothes!
The teal dot I used for the inner border are also used for the back.  I love the way it sets off the colors in the stars.  The colorful elephant border was also a perfect addition, and I am thrilled with the results!

 I cut a 6 1/2 inch square from the outfits if I could.  There were some pieces that were smaller than that, so I bordered them to make a large enough square for the center.  From the leftover pieces after that, I cut pieces for star points.
 I chose a few bright prints that looked good with the center squares, and made 12 1/2 variable star blocks (24 in all)
I meander quilted the white backgrounds, then stitched around the centers, and added quilting around the motifs in the various centers.  For the plain centers I plan on adding hearts, and a few other special motifs to make sure everything is well secured.  I used Warm and Natural batting, Aurifil thread and lightweight stabilizer behind the knit baby outfits.  For the binding I used the fabric in the stars for a fun scrappy binding.  

I am excited to show you the project on my design wall today, but you'll have to wait until Feb. 15th!  My Island Batik quilt uses the Caribbean Splash line and it is amazing, if I do say so myself!  Make sure you check in that week - the Planes, Trains and Automobiles blog hop will be starting that Monday, and there are loads of great projects made from Island Batik that will be revealed!


Saturday, February 08, 2014

Manatee Love

This is a fun project that I've been working on this month.  This was started by a custom request for an "Ocean" quilt.  My customer found a picture of a neat quilt in a watercolor style with lots of blues...right up my alley because I love working in blue!  She asked if we could add Manatees, not a problem - I found several fabrics, she chose one and I was set to get started.  Here is my design concept from EQ7:


I started gathering blue fabrics and cutting my pieces - 3 1/2 squares for the 9-patches and 5 inch squares for the 4-patches.  I sorted them into light, medium, and dark and pieced lots of squares.  When I thought I had enough I started laying them out on my design wall:

Uh-oh!  This quilt is bigger than my space!  I pieced the top rows into sections, then took them down so I could work on laying out the bottom:

It was a little tricky figuring out the half triangles because I wanted them to follow my shading...I ended up making some extra blocks to make it all work out!  I was really glad to have my design wall to lay it all out, it really made the process easier.  I just use a piece of cream fleece pinned to the wall, super easy and works great.


Here it is before quilting - I am really happy with the way it came out!  I used a variegated blue for the top because it worked best in the light area, and for the medium and dark used a periwinkle blue.  I quilted an overall swirl design and really enjoyed the process.  A closer look at one of the manatee squares-
And here are a couple of pictures of the quilt when completed:


I think my customer will be delighted with her Ocean Quilt!  I named it Manatee Love for the cute couple in the square.  It measures about 80 inches wide and 92 inches long, 100% cotton batting, thread, and fabric.


Saturday, January 04, 2014

First quilt finished in 2014

I am really glad to finally have this quilt finished!  I had hoped it would be done earlier, but I'm happy to at least have it done this week.  All of the center is made out of baby clothes!  Lots of stretchy knits, cuddly velours, not to mention cotton prints, corduroys and fleece.  I ended up having to foundation piece it because of the crazy stretchiness of it all, not to mention the various thickness of the different fabrics.  I think it came out beautiful, though and am very happy with the results.  I used a cute soft flannel for the border, and this
quilt is queen size, and very heavy.  It will be nice and warm, not to mention cuddly and soft!


I used a cute little hat to make a nest and appliqued a couple of birds in the blank white square.  I did this because we wanted to feature some birds in the quilt.  They are a little primitive looking, but cute!


I also added a bird to the bottom right border.  This picture shows the backing fabric as well.  I thought it was pretty with the front.  


This shows it on my bed for size.  Nice and large!  I am happy to have it done, and pleased with the results as well!  Here's to more gratifying finishes in 2014!

Wednesday, March 07, 2012

Joan's Vintage Butterfly Quilt - Finished!


I am so glad to be able to report that I've finally finished this quilt!  It's been an interesting project from start to finish and I am excited to be able to hand it off to its owner now as a very usable quilt in good condition.  When I first saw this quilt it really was in a sorry state - a still damp ball of wadded up cloth with huge lumps and shreds of batting inside.  At least it smelled good!

After examining it, I called the owner and told her that I could repair the pieces that were torn, but in order to replace the batting I was going to have to take all the ties out of the back and basically re-do it.  She said, "certainly, do what you need to" so I took it home to begin the journey of bringing this lovely quilt back to life.  A fellow butterfly fan was in the shop while I was looking at it and we got really excited because neither one of us has seen this block before.  We both liked the curve of the wing, because it gave a graceful look to a potentially very geometric block.

Over the next couple of months I would take the quilt out while watching television and take out some of the ties.  They were hard to remove, tied through the back of the quilt right into the seam allowances of the butterflies - no yarn showing at all on the top surface!  How on earth the maker of the quilt accomplished this, I can't imagine!  Then I started unpicking the edges - the backing (a blue percale sheet) was just wrapped over to the front and stitched down.  A nicely done, very serviceable finish.  As I got the back loose I started pulling out handfuls of shredded batting.  Several wastebaskets full by the time I was done!  None of it in any kind of usable condition, wouldn't even have made good pillow stuffing.  It took a while to get all the little shreds out of the seams, but I just worked on it a little at a time.  When I got it all cleaned up I was able to check out the repairs needed.  Quite a few of the black pieces needed replacing, and there were holes in some of the white background pieces.  Not too many popped seams, though.

I drafted a block pattern to make it a little easier to cut out the pieces I needed to replace.  That was kind of fun, and I pieced a block of my own, just to see how hard it was to put together.  A little tricky, but not too bad, really.  Not that I'm about to make 90 of them!  That's how many this quilt has in it - it's a 9 inch block, so the finished quilt is about 81 x 90 inches.  A little small for my queen size bed, but quite pretty.  I used a solid blue sheet for the backing.  After finishing the repairs I quilted it by machine - I quilted loop the loops in the background, then stitched each block in the ditch, matching my thread color to the solid color in the butterfly wings.  I had wanted to quilt some swirly lines in the butterfly wings, but since the quilt wasn't really flat, I decided that the stitch in the ditch was the best way to deal with those puffy wings.  It worked out fabulously!  I thought a black binding would really add to it, but in the end and added a blue binding as the customer requested.
  I take a pretty liberal stance in my decision on how to approach repairing/refurbishing/renovating an old quilt.  I take into account the age of the quilt with the sentimental and/or historical value as well as monetary value and let my potential customers know my advice, and how the options will affect the value, lifespan and kind of care the quilt will require.  If this quilt would have been quilted originally (well, then we wouldn't have had the batting problem either, most likely!) I would have advised just to make the basic repairs and leave the old backing on it.  Because we ended up taking it down to the top I could have hand quilted or machine quilted it.  The owner confirmed that it was from the early 60's, not a family heirloom, but a quilt she had purchased and she wanted a quilt that she would be able to use and not spend a lot of money on the quilting.  So we decided that machine quilting was the best way of finishing the quilt.  In other circumstances I have advised no repairs, or limited repairs.


So glad this is finished, and I can't wait for my customer to see it!  I hope she loves the quilt and that she will enjoy many years of the use of this lovely quilt!  If you'd like to make this lovely block, I've uploaded the pattern to my pattern shop - let me know if you make it and how it comes out!

Friday, March 25, 2011

A Quilt for Australia

I made this quilt for a lovely lady in Australia! I can't wait for her to get it and let me know what she thinks, I really do get quite a kick out of sending quilts so far away. She was so nice to wait a couple weeks while I was busy with my daughters wedding. I meet the best people through quilting!

The fabrics in this quilt are from Sandy Gervais Frolic line. Very fun and fresh looking. I love Sandy's designs, and have gotten quite adept at spotting the new ones when they arrive in the quilt shop. I think she is one of my favorite Moda designers, though I must admit there are several that I like a lot! The pattern is a simple disappearing nine-patch. It was fun and easy to sew up the top and really looks nice.

My next big project is a Wedding quilt for my daughter and son-in-law. I've purchased a fat quarter bundle of Origins for this one, but haven't decided on a pattern yet. Anyone have a good one for fat quarters to make a queen size quilt? I can get some additional yardage for borders, but am just not sure how I want to use the fat quarters and haven't made too many large quilts using them yet.

I am glad to have time for quilting again, and am looking forward to some small projects for my Etsy shop. Mug rugs seem to be popular right now and I'm thinking of trying a few just for the fun of it. As well as some mini quilts. I probably won't be making any more of the quilted checkbook covers and wallets, as I've had quite a few of those around for a while and they don't seem to be selling. I have a LOT of projects in the works and really want to work on those - I am planning several table runners using charm squares - those are a lot of fun, and I have a couple made up and ready to quilt already, plus ideas for a couple more so far. Just need to make time to do the sewing!

Here's to lots of quilting and new projects - may your weekend be a quilting one!

Pamela

Monday, July 26, 2010

Pink Heart Cross Stitch Quilt

Not a very clever title, but sometimes I just don't have words. Not that my husband would agree with that statement, but that's my story and I am sticking to it. At least for today!


I finished this custom quilt order last week, and my customer picked it up today. She was absolutely thrilled with the results and can't wait to show it to her mom, who did the cross stitching. Mom thought this was a table runner, but after looking at it we decided that it is actually the center panel of a quilt. The other two panels would probably have been borders to bring the quilt up to size.


I made two queen size pillow shams to match the quilt by cutting off the top and bottom sections of the long panel. I added Kona Snow to the top and bottom of the borders to make them big enough, bordered the whole thing with 2 1/2 inch pink strips for the flange, then free-motion quilted around the cross-stitching. I added quilted hearts to the plain sections. They are backed with panels of Snow that overlap for the closure.
For the quilt itself I took the large center panel of cross stitching and added a border of pink. The original plan was to simply make the quilt larger by adding a border of Kona Snow, but that was too much white. I designed a border with squares on point to go around it and am very happy with the results - it adds to the quilt without taking the focus away from the lovely center cross-stitch panel.I quilted the outer border with simple diagonal lines. We were trying to stay within a budget, so I didn't do a lot of quilting, but it looks nice. The pink border was quilted with a meander and hearts (using pink thread).I quilted around the motifs in the cross stitch and it really looked nice. I suspect that the lines of french knots may have been intended to be the quilting lines, but we don't know for sure. It took me a while to figure out that the green shape in the hearts is a fleur de lis. It was actually fun to quilt the cross stitch section, except for the french knots. There were several feathered sections stitched in them and it was really hard to stitch by them without stitching through them!

The mom found this panel (unstitched) at a garage sale and spent all winter doing the stitching. It's really a beautiful piece and I am glad that they allowed me to transform it into a finished quilt. I know it will be very much cherished and loved!

Enjoy!

Friday, May 08, 2009

Do you like puzzles and prizes?

If you like playing word games and winning prized hop on over to the Quiltsy team blog and check our out May Daze promotion starting on Sunday. It should be lots of fun, and there are lots of great prizes up for grabs. Get out your pen and pencil and play along, plus have fun going through all the participating shops! This is a great bunch of quilters so you should have a great time checking out what they have made. If you click on the button on my sidebar it will take you to our team page with the list of participants.

I have been busy sewing all day today, I have finally started making the blocks for the custom quilt I am making from Amy Butler fabrics. First I sewed all the blocks from the charm swap together and put them away, then I started putting up the butterflies. Are they ever gorgeous! Sewed some cornerstones and sashing on a few and WOW! I am so excited to get this going, and I'm sure it will be a hit with my customer. Here is a sneak peek at the first four blocks:

And here is my design from EQ5:


At the rate I'm going I should be ready to quilt by next weekend! What should I quilt on it? More loops and butterflies? I'm having a hard time deciding, and the thread color is a good question, too. I may have to do something than an overall design for this beauty! We'll see what inspiration hits me over the next week, I'll keep my eyes open for good ideas.