Showing posts with label free motion quilting. Show all posts

Thursday, June 30, 2016

Modern Batik Challenge - Finished!

I did quite a few hours of machine quilting this week, but I got it done!  I am pretty pleased with how my quilt turned out, and I learned that I should probably do smaller projects for the Island Batik challenges.

 But I had a vision for this quilt and I followed it through to the end, despite a very busy month.  I was inspired by a quilt I saw online when I looked for modern quilts using 10 inch squares.  I had a gorgeous Stack of Florida Oranges in my Ambassador box and the colors were so bold and vibrant I knew they would be perfect for the challenge!  I loaded up EQ7 and went to town designing a quilt using only large half square triangles and squares.  I wanted it to explode out of the center and this is what I came up with:


Sewing the top was easy and fairly painless - I did get my green triangles turned around and had to unpick all 8 of them and sew them correctly, but other than that it was fast and simple sewing.  For the background of this quilt I used Egg White - I love the little dots of color swirling on the light background - it really went well with the vibrant Florida Oranges line!

Then came the quilting, which I really wanted to be special.  I started out with an outline of what I thought would be interesting and progressed through a lot of marking to do the straight line quilting in the center of the diamonds and around the center square - you can see my progress for my first couple of days of quilting in these posts:  Part One and Part Two

When I last blogged I was thinking about what to quilt in the triangles around the blue diamonds.  I found my inspiration the very next morning when I was reading through some blog posts.  Angela Walters blog is one of my favorites, (her machine quilting is amazing!) - and this post about dot to dot quilting gave me the inspiration that I needed to fill in those triangles.

I was thrilled with the results!  My daughter commented on how perfect the lines were, but they aren't - it's just the overall effect that makes them look that way!

I used a light gray Aurifil 50 wt for the quilting.  I like the way it blends into the colors and subtly shows up on the background.  I think it was the perfect choice!

And now for the finished quilt:

Isn't it fun?  I am just thrilled with the results!  I usually like to make more traditional quilts, but I think this quilt is pretty amazing!

It's really heavy - lots of thread went into the quilting, nearly the whole spool!  I used another Island Batik for the binding, from the Lavish collection - it was a nice orange that went well with the rest of my fabrics.  Batiks are nice for mixing and matching between collections!

What do you think?  Did I meet the challenge and come up with a modern quilt made with batiks?   If you would like to see what the other Ambassadors came up with for their modern challenge, there are links to their blogs under the Island Batik Ambassador tab at the top of my blog.

Monday, June 27, 2016

Modern Batik Challenge Part Two

I am deep into the quilting on my Island Batik #modernbatikchallenge.  I kind of wish I had gone ahead and added the double batting, but it is way past too late now!  Yesterday I added some matchstick quilting in the center square channels
That fine controlled stitching makes my forearms ache!

After that I decided to do a sunburst as the filler for the center square:
This is a fun design to quilt, though I have a tendency to stitch myself into corners fairly often.  I have a couple spots where I accidentally stitched over the line, so will need to do a little unpicking, but I like how it came out.

Next I added the spiral stitching to the outer triangle channels.

That went really well, then I realized that I meant to add this deign element to the second channel. Oops.  I decided this was a great design opportunity and came up with the idea of adding some diamonds outside the blue diamonds to highlight them a bit more:
I think I will end up adding some filler to the outside ones to make them stand out a bit more.   I also added the facets to the diamond.  One down, three to go!  Next I went on to try out a filler for the outside background triangles.  Spirals and bubbles:
And finished up the day by adding the facets to the four orange butterfly corners:
Now I have lots of filler left to do as well as three blue diamonds.  I laid it over the cutting table and as I was about to leave looked back at it.  Looks pretty good so far, though the picture really doesn't it justice!
I have a big bag of alterations to work on today, but after that I'll get to work on this quilt - hopefully I can make more good progress so I can get this crossed off my list for the week.  I hope you have a productive Monday as well!

See more about making this quilt on the following blog posts:
Modern Batik Challenge Part 1

Thursday, June 02, 2016

Is It Really June Already?

I can hardly believe that May is gone and it's already June!  It didn't help that I caught a head cold and it kind of kicked the snot out of me...literally!  (Sorry for the bad pun, I just could not contain myself)  I am totally behind on everything right now, so need to do some catching up.

First of all, it's time to draw the winner for my Miniature Quilts Magazine giveaway!  Maryellen McCauliffe is the lucky lady - I'll e-mail for your address and get this magazine in the mail first thing tomorrow.  Maryellen is not only a fellow Quiltsy Team member on Etsy, but she also is the one that encouraged me to sign up as an Island Batik Ambassador.  She has had a rough few months so I'm sure this will brighten her day a bit.

I spent last week working on quilting this quilt top - a real scrappy and bright project with lots of crazy prints.  I used purple thread and added a purple binding because it's my clients favorite color!

This one was a bit of a challenge because the top was not very flat.  It is all hand pieced, and the blocks are supposed to be 18 inches, but you could tell there was a lot of easing going on as they were sewn together!  I quilted it with hearts and loops and am very pleased with the results.
The best part is that this won't be a top sitting in a drawer or on a shelf anymore.  It's a finished quilt, ready to be snuggled under, wrapped up in and loved!

I got an exciting message on instagram yesterday!  I am the winner of the #eq25 social media prize this month.  Don't forget to use the hashtag if you post a picture of a project - you could be a winner, too.  I'll be blogging more about that on the 10th of the month - I learned more about using the custom set tool and am excited to share about that.

Today I am doing some random sewing and thinking about what I would like to get done this month, so I'll save that for another post.  I've been continuing to work on my rag quilt project and have a big pile of sewn blocks, but lots more flannel to cut up!  There is a new Ambassador Challenge for Island Batik this month - modern quilts, so that will be fun.  I know what I am making, just have to get sewing...so I think I will leave you there for now and continue on.  Have a wonderful day - go get some sewing done, too!

Tuesday, January 05, 2016

How to Quilt a Large Quilt on a Domestic Machine

One of the questions I've been asked a lot is how do I quilt a large quilt on my machine.  What most people actually want to know is where to start and how to proceed with the quilting when using an overall quilt design.  When I first started quilting I was hand-quilting and the common method was to start in the center of the quilt and work toward the outside evenly.  When I started machine quilting I used the same method, but found this problematic because when you do this, how do you hide your starting position?

I've developed my own method of quilting with overall designs like stippling, swirls or hearts and loops.  First of all you have to make sure your quilt is well basted.  I pin baste, aiming for a grid of pins 6 inches apart at the most.  I start on the right side of the quilt, toward the center of the side.

Starting at the edge I work my way in to the center of the quilt.  I then work my way back toward the side, working toward the top edge of the quilt.  I keep the quilt as straight as I can, letting the bulk fall into my lap as I work my way into the corner.
I shorten my rows as I go, creating a diagonal line that extends to the corner.
When I get to the corner, I rotate the quilt so that I can proceed quilting along the next side (top).   I check the back occasionally to make sure I am not getting any puckers.
I go back and forth, filling in the between the previous quilting and the edge.
I continue quilting the second corner like the first one, quilting a diagonal line from the center to the corner.
Turn the quilt again and start filling in the quilting.
Quilting the third corner as before, until you have the third corner done,
Turn the quilt.
Quilt the final side, all the way up to the corner,
Turn the quilt.
Finish the last portion, checking to make sure the backing does not have any puckers.

Usually this method works perfectly for me.  As long as I baste well, I seldom get any puckers or pleats on the back.  I do make sure to check the back from time to time.  I hope this helps you with your quilting.  This really helps keep most of the bulk either in my lap or to the left of the needle, so it makes it fairly easy to handle a large quilt.  I just puddle the extra in the arm of my machine with no rolling.  I always feel like I can see where I am going as well as where I have been using this method, and it works quite well.

I only have one more side and the last half side to finish on my Grand Illusions quilt!  Looks like it will be a finish tomorrow, I'm excited to bring it to my Guild meeting on Thursday to show it off!

Monday, December 07, 2015

Neither Wind Nor Rain

shall keep us fanatics from our regular exercise routine!  Today the weather was far from delightful - sideways rain is never much fun.  We still went out to the track and did our regular laps.  It was very stormy, but I am glad we did it.  I always feel better when I keep up on my exercise routine, even if I really don't want to.

As I started to tackle my list today I ran into a problem.  The fabric for the curtain panels has a very obvious flaw and there is no way to cut around it.  So I had to leave a message about the problem and we will see where we go from there.  I had not cut into the fabric yet, so that is a good thing as it can still be returned if that is the choice.  That left me free to work on another item that didn't make it onto my list, but needs to be done this week.


This is a quilt made by a customer at the quilt shop. The long arm machine had to be sent in for repairs, so I've been quilting the smaller quilts at home so they will be done for Christmas.  This one was 62 x 80.  It is actually a two sided quilt, so there quite a few seams on the back as well.  I'm glad I was able to finish it today, so it can be delivered this week.

I didn't get all the squares for the Allietare mystery done, but I did get another 60 finished and 20 cut out and ready to sew.
 I like to press them with a spritz of Best Press so they lay nice and flat!
60 finished triangles.  I am using some white and some off white.  I hope it works out all right!

I also got the Christmas tree up, so I can decorate it tomorrow.  Now I need to figure out what I need to buy for the lunch menu so I can add everything to my grocery list.  I'm happy with my progress for the day - hopefully I can make more tomorrow!

Wednesday, April 29, 2015

Back to Quilting

I wanted to share some pictures of the Nursery Rhyme quilt after quilting.  I was really happy with how it came out and when I showed it to Sharan at the shop today, she liked it as well.  This was a fun project to work on and I am glad that I have it finished now.


Old King Cole.  The block looks skewed because of the way I took the picture - they are actually all nice and square!

 Ding dong dell, Pussie's in the well!


Mother Goose?


This one I am not sure about - looks like Mother Goose sweeping the moon?


One of my favorites, the old woman who lived in a shoe!


And the back - I did a nice job of balancing the tension on the sashing - I used dark blue on the top and white on the back.  It came out great!


Today I got back to quilting my Blue and White Star quilt.  Instead of continuing on with the bubbles and swirls that I did in the center I decided to switch it up and am doing swirl hooks!  I was surprised to get almost 1/4 of the way around the outside of the stars today, so should be able to get all of the white done by the weekend!  I know what I want to do in the following border, but then I'll have to figure out what to quilt in the last one.  I will be glad to get this one finished because I have several more tops lined up that I want to get quilted!

I am looking forward to getting more sewing in tomorrow - the fabric came in for a set of curtains I need to finish, and I want to do more quilting on this star quilt.  Plus I'd like to do another block or two for that Block of the Month I'm working on.  April has been so crazy that I haven't gotten too far on that project, but if I push a bit I should be able to get it done over the weekend, I think.  Anyway, I'm going to give it a good try.  Then I need to decide what project I am going to work on in May.  The fair is coming up in a couple months and I want to enter some nice projects!

Saturday, April 04, 2015

Quilting From the Back

I have a lot of different quilting techniques on my "bucket list" and on this quilt I got to do one of them.  The top was pieced in January as a shop sample for the quilt shop.  It's a lovely quilt, but not really inspiring as far as the quilting go.  As I was looking for a nice backing for it I found a great print in the right colors with big flowers on it - and so an idea was born - why not quilt this from the back?  I thought it was a fabulous idea, so decided to go with it.


The first problem, I realized, that if I was going to quilt this by the fabric design then I should absolutely try to match the pattern when I pieced the back.  Yikes.  I did not have a lot extra to work with in order to accomplish this, but thankfully the repeat was just about right to make it work.  There is a section in one corner that is a bit off, but it is close enough to work.  Then I had to baste the quilt and realized that this was going to be tricky since the bottom (which is the top) was bigger than the backing and batting.  Yikes!  I taped the top down, making sure it was right side down...then added the batting, and the back went on the top.  I did a lot of double checking to make sure everything was straight and pin basted the sandwich.  I flipped it over to make sure I had it all nice and flat - definitely did not want any tucks or wrinkles in the front of the quilt when it was done!

I chose a light tan aurifil thread that went well with both the top and the back.  I did a small sample to check my tension - really important to have just right for this technique, since the back is the top of the quilt!  I don't always start in the center of the quilt when I am machine quilting, but felt like it would be the best decision in this circumstance.  I started quilting around and in the flowers - it's very detailed quilting and  was difficult to figure out a path as I quilted.  After I got to the end of the first bobbin I was surprised at how little I had actually finished.
Over the next couple of days I quilted on and off, and quit counting after six bobbins.  Today I was determined to get this quilt finished!  I was so close to the edges, so just pushed myself to keep going, and finally got all the quilting done - I was so excited to cut the extra off and sew the binding on it!

Here is the back!  If you look closely you can see the line at the bottom left where the fabric didn't quite match up.  

Another view of the quilting on the back - I was pleased at how well the thread blended in with the colors.

When I first started I wasn't sure if I really liked how the quilting looked on the top, but now that it is done I love it.  It's so pretty on the black triangles!

Here is my helper, showing you how soft and comfy this quilt is ;)

And the cat free version!   This quilt will have a lovely crinkly texture after washing, but for now it's going to keep it's crisp and flat finish so it will be a nice sample to sell kits with!  The pattern is Sweet Escape by P&B fabrics.  If you would be interested in reading my post about making the top you can see that here.  

So glad to tick this one off my to-do list!  I got out my supplies for the 2012 QBOM quilt today and started basting my hexagons for the April lesson.  I decided I will work an hour a day on this quilt and hope to get it done by the end of April.  Let's see - that makes this project only three years old... not too bad!

Tomorrow I'll be cutting strips for the Star Shuffle Quilt!  I hope to get that one done by the end of the month as well.  I can't wait to start playing with it - I think when I start I won't want to stop!

Saturday, November 01, 2014

UFO Challenge for October - Candy Heart

I'm a little out of order (in more ways than one!), but since these are the pictures I have right now I am going to add this quilt to my blog now and hopefully get the September quilt tomorrow.

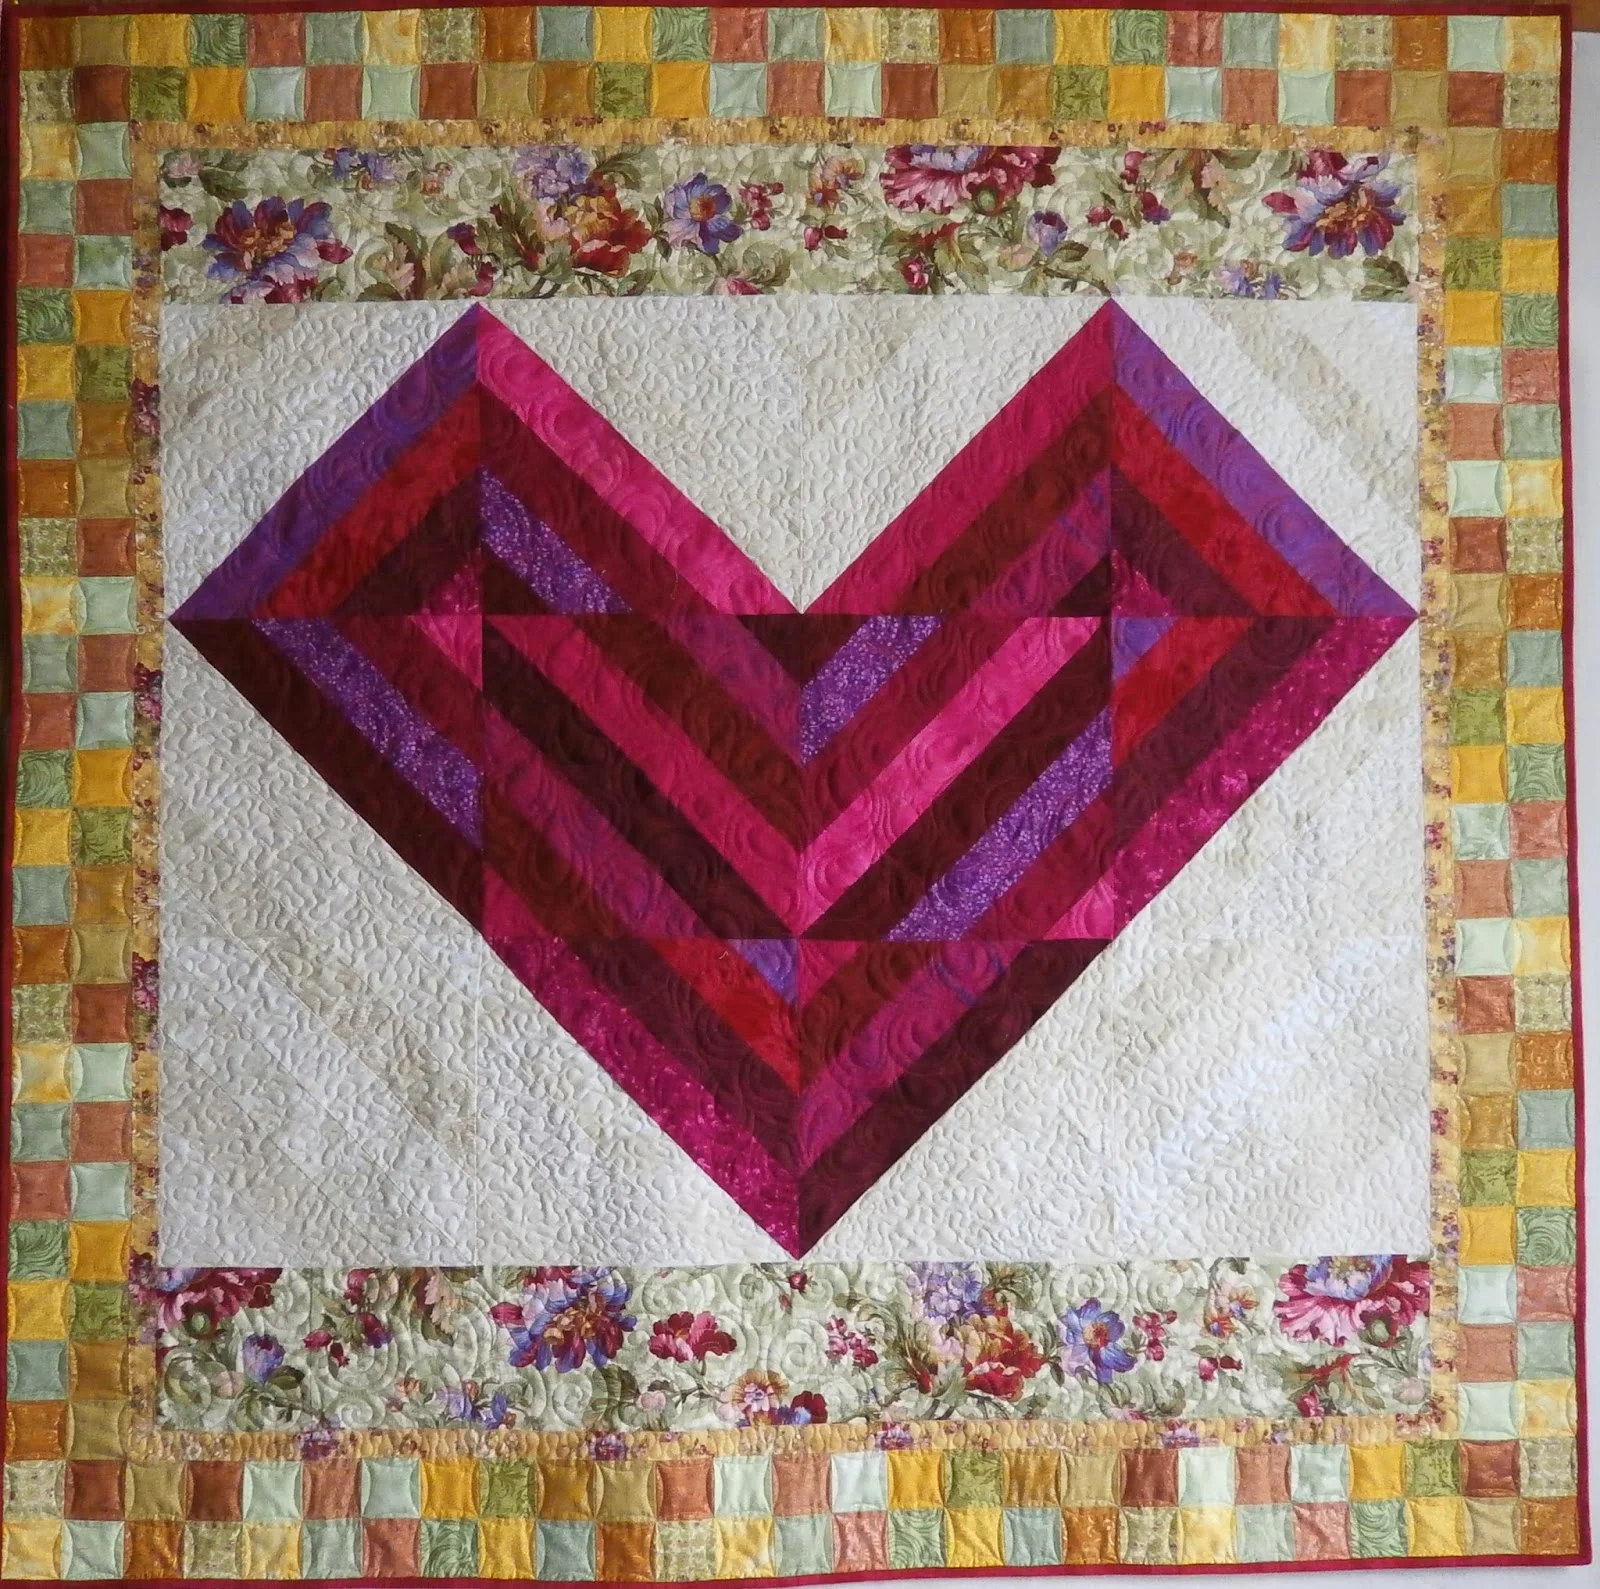
This was a complete top that I made for Threads That Bind as a sample for the strip class I taught as well as a set of Jelly Rolls that I cut.  I chose the fabrics in the strips to go with the fabric in the strip border at the top and bottom of the heart.  I like how it all works, a little different from my usual choices - quite vibrant!
I used Dream Poly batting in the request weight for the batting and Tula Pink Key Tree in Pink/red for the backing and binding.  I quilted the heart in a paisley design using Essential from Connecting threads.  I quilted the cream background in a small meander with Aurifil Cream thread.  The borders were quilted with another Essential thread in green using a spiral design, and the checkerboard was done in yellow and green Essential threads with a simple curve to echo the seams. I really loved how that came out:
Those curves did not look at all even when I did them, but once they were all done it looked really great!  I did have to go back when I was finished with this quilt and take care of a couple tucks that got worked into the paisley quilting.  Grr. Poly batting tends to be more of an issue for that than the cotton I usually use.  

This quilt is now available for sale in my Etsy Shop.  It measures 56 inches square and will make a nice lap quilt or wall hanging.  Candy Heart is made from my pattern that was published in Jelly Roll Inspiration.

This makes my tenth UFO for the year!  Woohoo!  Just two more to go....in November I will finish the Pink Embroidery quilt.  I have already got a head start on it since I decided to hand quilt it...I am using wool batting and I am in love!  When this one is done I plan to hand quilt a queen size for myself with this luscious batting.  So soft and luxurious feeling!  Don't forget to set your clocks back tonight...it's going to be lovely to sleep in :)

Saturday, June 14, 2014

Imperfect is my Happy Place

I was thinking today as I was working at some free-motion quilting that one of the biggest hurdles for beginners is the fear of not being able to do it well.  As a matter of fact, if you ask most beginners to describe their quilting they would say it sucks. You know what?  That's just fine!  Really, it's ok if you suck.  Nobody does anything perfectly the first time...and for some of us, it takes a lot of practice and work to improve.  I've been free-motion quilting for more than 10 years now, and I still stink!

Oh, there are lots of things I am pretty darn good at.  I can meander the heck out of a quilt.  Loop the loops - I got that down.  Spirals are my favorite, I can do them in my sleep and they always look terrific. But what I really love and want to do well are feathers - and I suck most of the time.  Sometimes they come out beautiful, but often they are just plain ugly.  Totally imperfect, in fact they are the epitomy of imperfect according to the World English Dictionary: exhibiting or characterized by faults, mistakes, etc; defective 

But, you know what?  That's all right.  I'm still learning.  My feathers may not be perfection, but every time I work on them I get just a little bit better.  And that's the point!  It makes me happy to see my progress and to know that I am developing another new skill.  With enough practice I know they will look much better.  Probably never perfect, but that's just fine because I value the little bumps and glitches as being part of the handmade process.  It gives my quilts character and depth, which I enjoy.  

So, if you are just learning to machine quilt, I would encourage you to just keep working at it.  Don't be afraid to stitch badly.  Make some simple tops to practice on and find something you are good at and do it a lot!  Then find something else that you can work on improving.  Show your family and your friends (I guarantee you that most non-quilters will be quite impressed!).  Keep a couple of your beginning projects so you can see how much you have improved.  Enjoy the process of gaining this new skill and don't give up - value the imperfect and learn to be happy with the mistakes and wobbles. 


Here are the feathers I did today:


I wasn't thrilled with my first attempt, but decided to do all four sides, then decide whether or not to rip out the first one and re-do it.  Well, you know after I was done I couldn't really tell which one was the one I didn't like!  The quilting really doesn't show that much, and I am not making this as a show quilt, so I am just going to leave it and move on.  I plan to do more feathers in the last border, so I'll get plenty more practice at this - and I can't wait to see how it goes! 

Sunday, January 08, 2012

First Free Motion Stippling

While I was putting things away from yesterdays class, I took some pictures of my first effort at free motion stippling so I could share it here. I thought it would be fun to also show you how pretty it looks hanging in my front room before I start criticizing it too much! The walls are a lovely gray/lavender shade that I just love. The quilt looks perfect hanging in this spot and I really enjoy looking at it. It's so heavily quilted that it lays quite flat. The blocks were made for me in a secret sister swap probably about 15 years ago and I quilted it back in 1992.I studied some you-tube videos and read all the books I could find and jumped in to machine quilt this little top. I used monofilament in the top, and a soft grey color cotton thread in the bobbin and quilted the heck out of this little quilt! Can you see the crazy looking quilting. Definitely no consistancy to the quilting. Lots of funny pointy spots and crossing over lines. Big loops, little loops. But you know what? It doesn't really matter. I still love this quilt and am proud to display it!

See the little blank square above the lighthouse block? I meant to make that into a signature square, but was so excited to quilt it that I forgot. Isn't that funny? I sure wasn't going to take out the quilting so I could write in it, so decided to leave it as is, and have to really look hard to find it every time I tell the story! I guess the moral of the story is, to just have fun - enjoy your projects and the process of learning new skills. I sure do!

Pamela