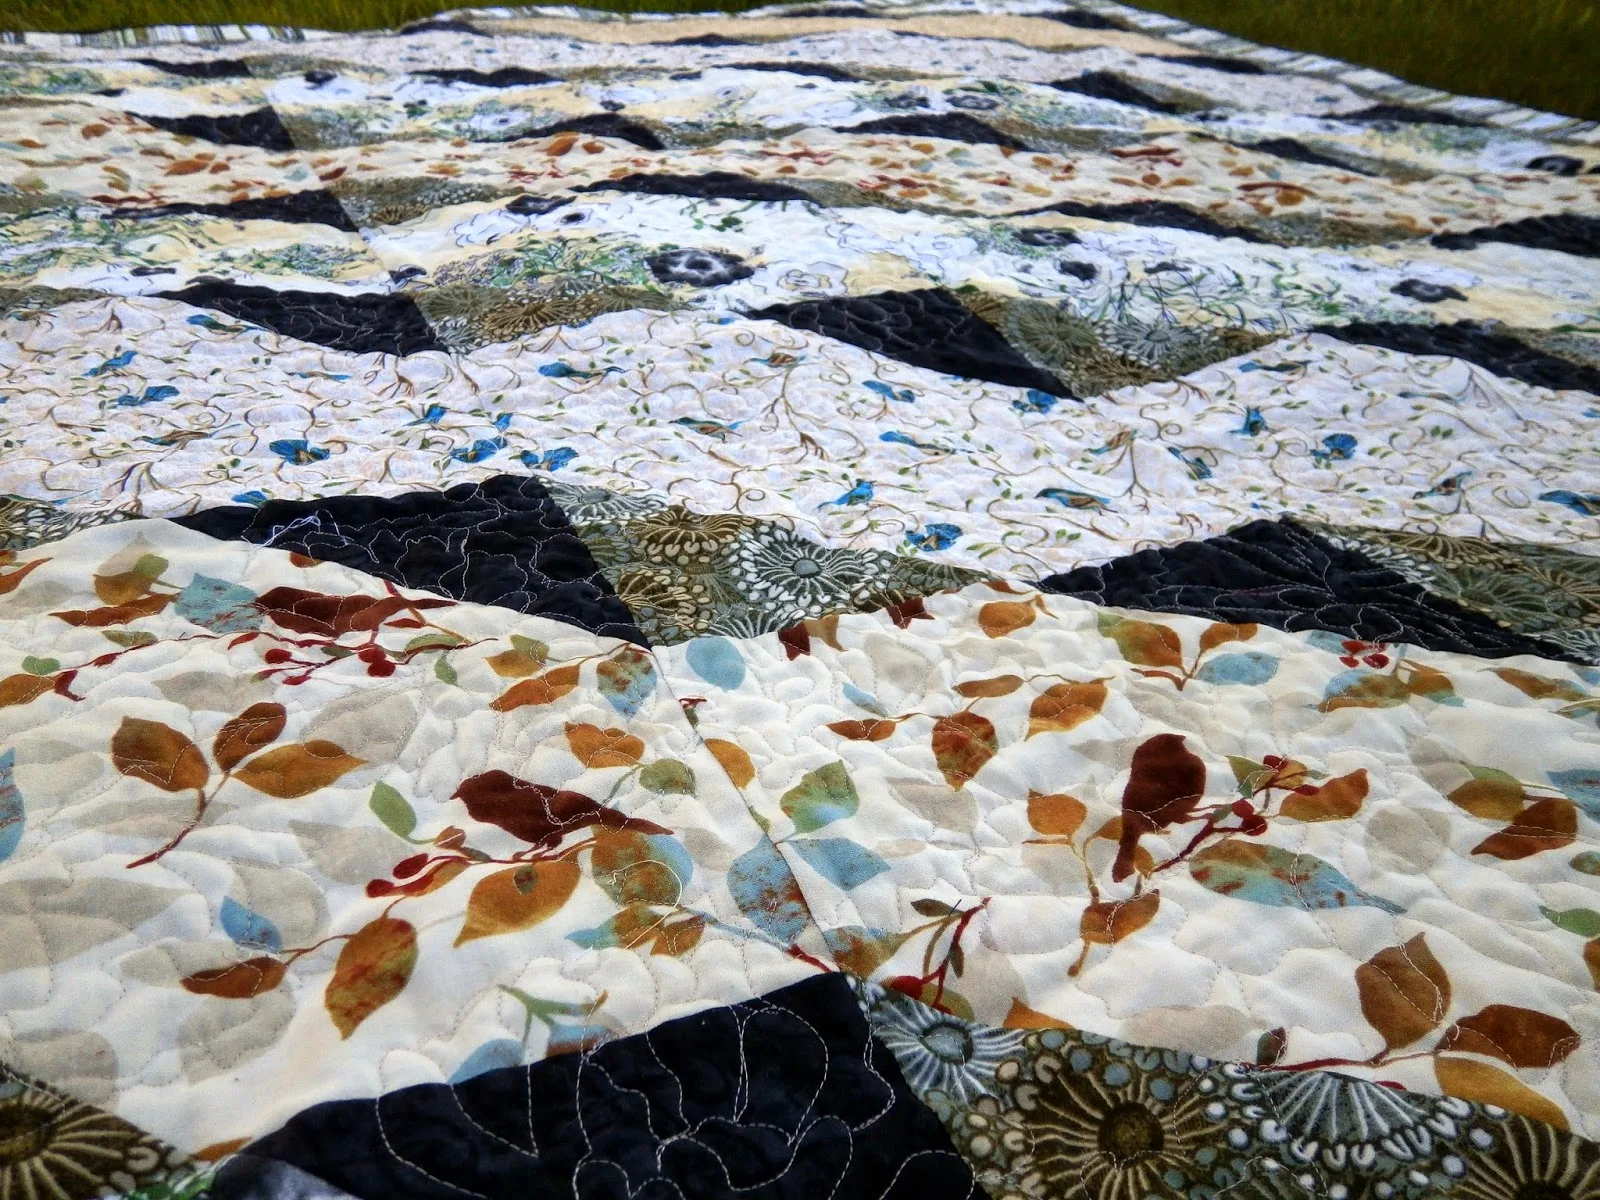
The first problem, I realized, that if I was going to quilt this by the fabric design then I should absolutely try to match the pattern when I pieced the back. Yikes. I did not have a lot extra to work with in order to accomplish this, but thankfully the repeat was just about right to make it work. There is a section in one corner that is a bit off, but it is close enough to work. Then I had to baste the quilt and realized that this was going to be tricky since the bottom (which is the top) was bigger than the backing and batting. Yikes! I taped the top down, making sure it was right side down...then added the batting, and the back went on the top. I did a lot of double checking to make sure everything was straight and pin basted the sandwich. I flipped it over to make sure I had it all nice and flat - definitely did not want any tucks or wrinkles in the front of the quilt when it was done!
I chose a light tan aurifil thread that went well with both the top and the back. I did a small sample to check my tension - really important to have just right for this technique, since the back is the top of the quilt! I don't always start in the center of the quilt when I am machine quilting, but felt like it would be the best decision in this circumstance. I started quilting around and in the flowers - it's very detailed quilting and was difficult to figure out a path as I quilted. After I got to the end of the first bobbin I was surprised at how little I had actually finished.
Over the next couple of days I quilted on and off, and quit counting after six bobbins. Today I was determined to get this quilt finished! I was so close to the edges, so just pushed myself to keep going, and finally got all the quilting done - I was so excited to cut the extra off and sew the binding on it!
Here is the back! If you look closely you can see the line at the bottom left where the fabric didn't quite match up.
Another view of the quilting on the back - I was pleased at how well the thread blended in with the colors.
When I first started I wasn't sure if I really liked how the quilting looked on the top, but now that it is done I love it. It's so pretty on the black triangles!
Here is my helper, showing you how soft and comfy this quilt is ;)
And the cat free version! This quilt will have a lovely crinkly texture after washing, but for now it's going to keep it's crisp and flat finish so it will be a nice sample to sell kits with! The pattern is Sweet Escape by P&B fabrics. If you would be interested in reading my post about making the top you can see that here.
So glad to tick this one off my to-do list! I got out my supplies for the 2012 QBOM quilt today and started basting my hexagons for the April lesson. I decided I will work an hour a day on this quilt and hope to get it done by the end of April. Let's see - that makes this project only three years old... not too bad!
Tomorrow I'll be cutting strips for the Star Shuffle Quilt! I hope to get that one done by the end of the month as well. I can't wait to start playing with it - I think when I start I won't want to stop!


1 comment:
Looks great! Interesting technique. Something to think about if I get stuck on quilting a top.
Post a Comment