
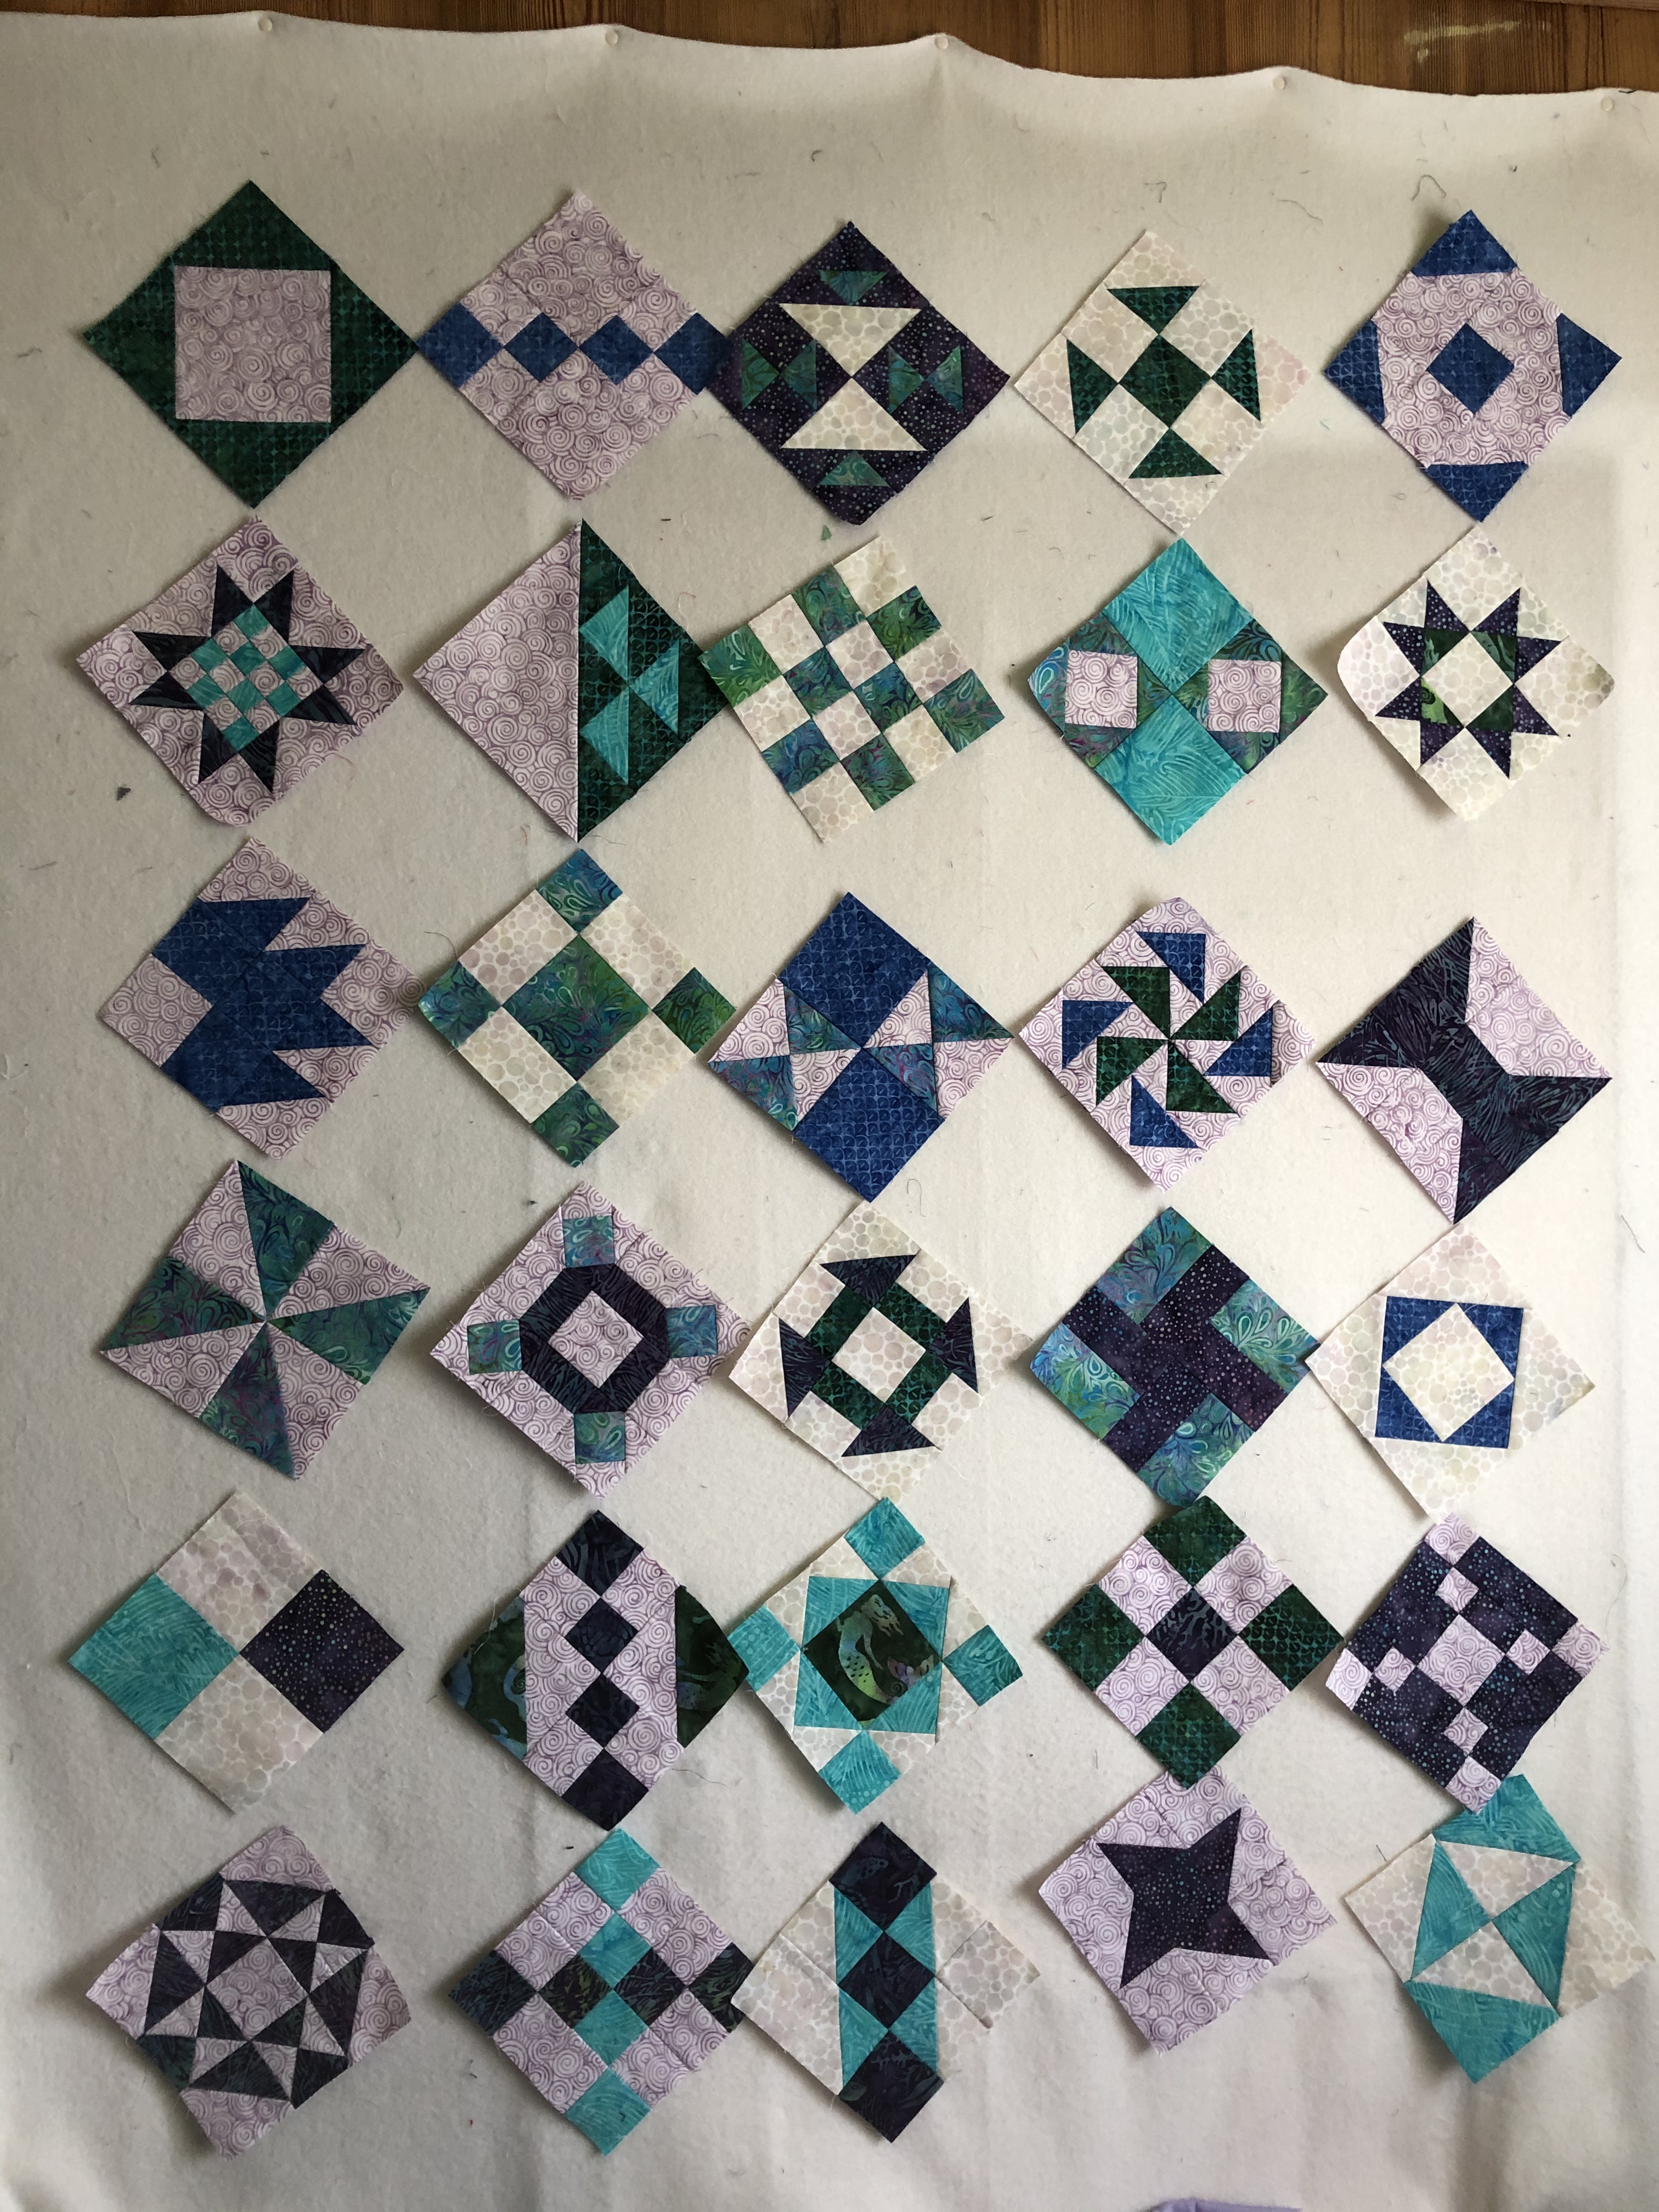
Now you'll need to cut some squares and triangles for those empty spaces.
If you are making a quilt with 6 inch blocks, you will need twenty 6 1/2 inch squares, five 9 1/2 inch squares cut in half diagonally each direction to make the side setting triangles (you'll have two extra triangles) and two 5 1/4 inch triangles cut in half diagonally for the corners.
For a quilt with 3 inch blocks, cut twenty 3 1/2 inch squares, five 5 1/8 inch squares cut in half diagonally both directions for setting triangles and two 3 inch triangles cut in half diagonally for corner triangles.

Start at a corner (I like to start on the top left) and sew a corner triangle to one side of the block, and a s setting triangle to each side, making one large triangle from the block. Press seams toward triangles. Then procede to sew the blocks in diagonal rows, alternating blocks with solid squares and adding a setting triangle to each side, being careful to angle them correctly! Press seams toward solid triangles and solid squares.

When you get to the center you will have a row with a corner triangle on one end and a setting triangle on the other side.

Continue piecing your rows, then start to assemble them. If you start from the corner and stitch rows together until you get to the middle and then repeat from the other corner you can sew both halves together at the end. Press each row toward the corner.

After your top is complete, you can trim the edges if needed. The corners of the blocks should be 1/4 inch from the edges.
Now the borders can be added. Add borders as desired measuring length and width of top.
Here are the written instructions for you to save and use later:
I'm excited to see your finished quilts! I'll put the borders on mine today, and share the process with you tomorrow.
2 comments:
I love this version too!
Thank you for the inspiration and instructions. I have 50 6 inch blocks that I want to sew on point . I appreciate your help.
Post a Comment