I may be a bit crazy, but I was really excited about this month's challenge - I really like making Flying Geese units! There are so many different methods for making them, and they add such a great sense of movement to your projects. Island Batik gave us the challenge of making a quilt highlighting Flying Geese as part of our design. We were asked to use one of the precuts we were provided with for a quilt or table runner of any size. I decided to take the opportunity to make a bucket list project for myself - a quilted coat!
(The products I used for this post were all provided to me as part of the Island Batik Ambassador program)
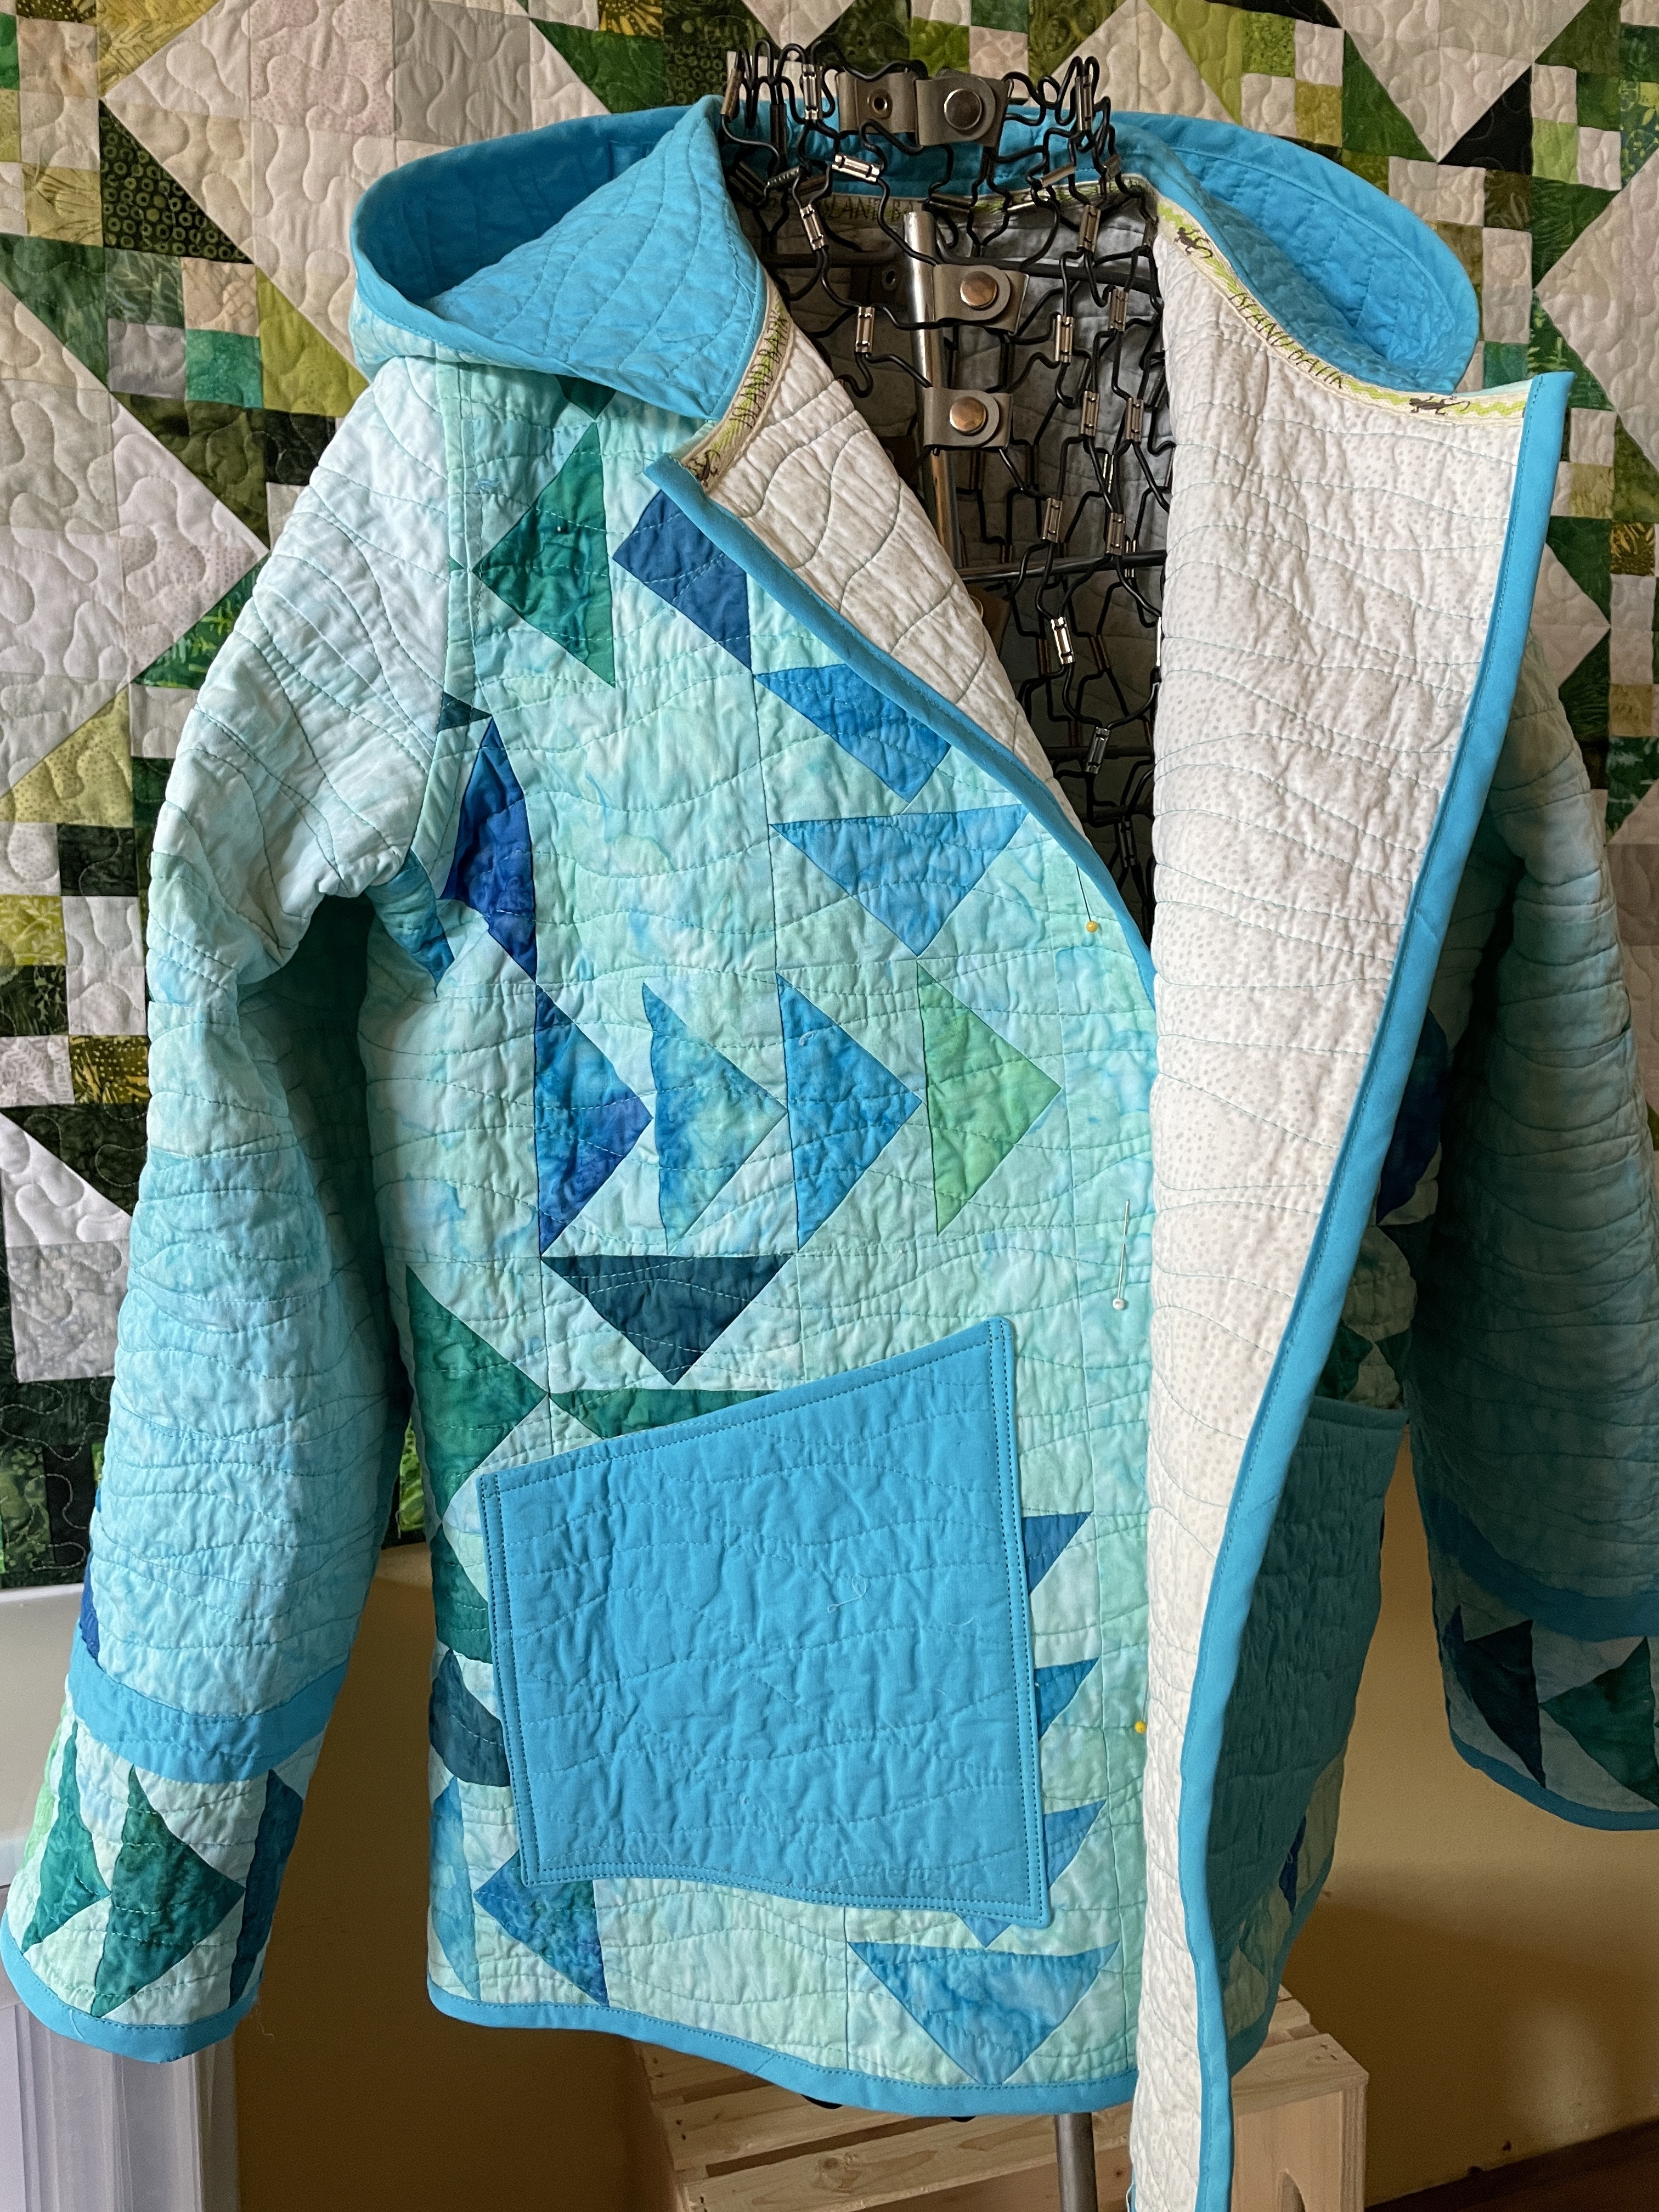
It's not quite finished yet - I ordered some buttons, but they haven't arrived yet so I still need to sew buttonholes and add the buttons. But it's close enough for me to show and tell!
I started out with a strip pack of Tantalizing Teal and two yards of Aqua. I used Sprinkles for the lining, and the trim and accents are Turquoise solid. These colors all make me smile!
I wasn't sure what pattern I wanted to use, but since the challenge was Flying Geese, I fired up EQ8 and came up with a block using the units I could make with strips.
I just loved the movement in this! I made a guess as to how many geese I would need to sew, and realized that my original plan of making them with a sew and flip technique was not going to provide enough geese for my project. I had to think about how to accomplish my goal with the fabrics I had, and realized that there was another method I could use that would use the fabric better. When I made the most recent Bonnie Hunter Mystery, it used strips and her Essential triangle ruler for cutting them, so you could get more units with no wasted fabric! Perfect!
I cut the aqua into 2 1/2 inch strips and cut triangles for the background, then cut the geese using the corner of the ruler! It works great! I think I got about 15 geese units per strip using this method, and would have only been able to cut 9 using the sew and flip method.

I went through my rulers, and I actually had several different triangles that would work for this technique, so look at what you already have and you can probably use this technique as well!
Before long I had piles of geese ready to sew into my blocks! I used a light gray 50 weight Aurifil thread for my piecing, along with a size 12 Microtex needle from Schmetz. This combination gives me great accuracy and ensures that my units all end up the proper size for my project.
I found that cutting the pieces not only saved me fabric, but was faster since I didn't have to trim between steps.
At this point I had to decide on a pattern. After a lot of thought and research, I decided on the
Patchwork Chore Coat by Patchwork and Poodles. I like that it's more fitted in the shoulders, and has a choice of a hood or a collar. I've made many garments, so I felt confident that I wouldn't have any problems sewing it. The pattern includes an option to make separate quilted panels for each pattern piece, so I opted for that. It made the process a lot easier than having to handle one huge panel!
I got the panels sewn for the front two pieces and the back and pulled out thread to audition for the quilting. I had a pale green and a light teal
Aurifil to choose from, and decided to go with the teal so it would show up and give my jacket a great texture. For batting I pulled out a package of
Hobbs fusible - it was a great choice! It made it easy to baste each panel by just pressing, I didn't have to pin and it held the layers together perfectly for all the rows of stitching.
Lots of wavy stitching to give my coat a nice texture! I change up to a size 14 Chrome Professional Microtex from
Schmetz for quilting. This is a great way to quilt with a regular foot, I just did random wavy lines all the way across over and over. It didn't take a long time, and I like the look a lot!
I still had to make the panels for the sleeves, the hood and the pockets and was starting to run short on my Aqua yardage at this point. So, I came up with the idea to use the lighter colored strips in the package as an ombre background for the sleeves. While I was at it, I decided it would be fun to offset them so they weren't in a straight line. I needed a little more length, so added a contrast strip and a row of sideways geese. All of this took a bit of brain work since I needed to make the sleeves mirror each other!
I also needed to figure out how to insert the geese triangles into the strips to minimize seams. Turns out it was actually quite easy to cut the strips at a 45 degree angle and sew the precut geese triangles to them.
Looking good! Plus, as luck would have it, I had a 1/2 yard cut of icicle for the top of the sleeve cap, which worked perfectly! I decided to make the pockets in Turquoise, as well as the hood lining. For the hood I made the side sections in aqua, then added a final row of pieced geese for the center. The next step was to wash and dry all of my panels to pre-shrink them and tape together all of the pattern pieces so I could start the actual construction of the coat.
I love the texture! Now it's time for this project to come together! It wasn't too bad, once I got the hang of how the binding of the seams went. You do need to hand stitch a few places, but they look awesome when they are done!
Notice the Island Batik twill tape on the seam where the hood attaches? I was super excited to have that to add to my jacket! I always save the strips from the precuts - I have quite a collection and it does come in handy!
I love the way the sleeves came out! And the pocket and hood lining really pop in that beautiful turquoise!
I think this will be a lot of fun to wear! It's not only beautiful, but very practical as well - I won't be worried about washing it. Now that I've made one, I'd love to make another one! Maybe with a zipper front next time!
Thanks to
Island Batik,
Aurifil Thread,
Hobbs Batting and Schmetz Needles for the wonderful products to make this stylish and fun addition to my wardrobe!
If you loved these beautiful colors in the Tantalizing Teal collection you can find them in many shops!
Creekside Quilts in Oregon has both the strip pack as well as the Aqua, Turquoise, and Sprinkles I used to make my coat. It is also carried by
Jelly Roll Fabrics and several others. Or tell your local quilt shop, and they can order them anytime! I love that these are going to be a regular item from Island Batik, so they will be available on an ongoing basis!


5 comments:
Beautiful ! Love the colors.
Wonderful work! It came out wonderfullyl
Beautiful work !!
You did a great job on this. Did you make it a size larger, knowing you were going to prewash before sewing together.? My sense is the 80/20 batting is a little less shrinkage....
This was a lot of work, I know, but definitely well worth it! Gorgeous jacket! I love that it has a hood!
Post a Comment