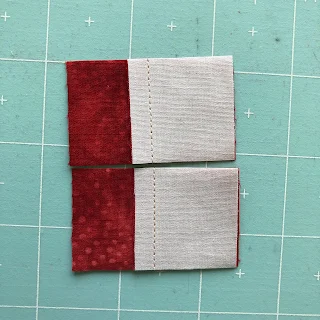
Today I am going to introduce the technique of strip piecing. Strip piecing can be very helpful in working with miniature quilts as it keeps you from having to handle tiny individual squares as much.
For the 6 inch finished block you will need a strip measuring 2 inches by 9 inches from your chosen color and a background strip that measures 2 x 9 plus two 3 1/2 inch squares.
Start by sewing the two strips, right sides together, edges lined up with a 1/4 inch seam.
Press your seam toward the dark side. To see if your seam allowance is accurate, measure your strip across, for the 3 inch block it should measure 2 inches. For the 6 inch block, it should measure 3 1/2 inches.
Cut your strip in half, then layer your two half strips right sides together with the seams lined up tightly. You can feel them with your fingers.
Cut two 1 1/4 inch strips from the pieces for the 3 inch block, or two 2 inch strips if you are making the 6 inch block. Sew these strips into small four patch blocks. Press seams as desired. Squares will finish at 2 inches for 3 inch block and at 3 1/2 inches for 6 inch block. Measuring as you go helps make sure your blocks finish at the correct size!
Add the background squares and sew in a larger four patch - make sure the colored squares are lined up in a diagonal! For this block I press the seams away from the small four patch units to reduce bulk.
And now you have four blocks made! We are marching right along with this project.


No comments:
Post a Comment