

This months Island Batik Ambassador Challenge is Creative Borders and Bindings - which was a wonderful challenge to work on! Long post ahead, so grab a cuppa, and settle in for a nice read.
*all the fabric, thread, and batting as well as the Accuquilt GO! cutter and dies were provided by Island Batik and their industry partners for this challenge*
It seems that much of the time I use all my creativity on the center of my quilt, and the border and edge are just an afterthought - add on a few inches of a complimentary border fabric, and an ordinary binding for the finish. So I took this challenge to heart and stretched myself to come up with a border and edge finish that would really set off my pieced center.

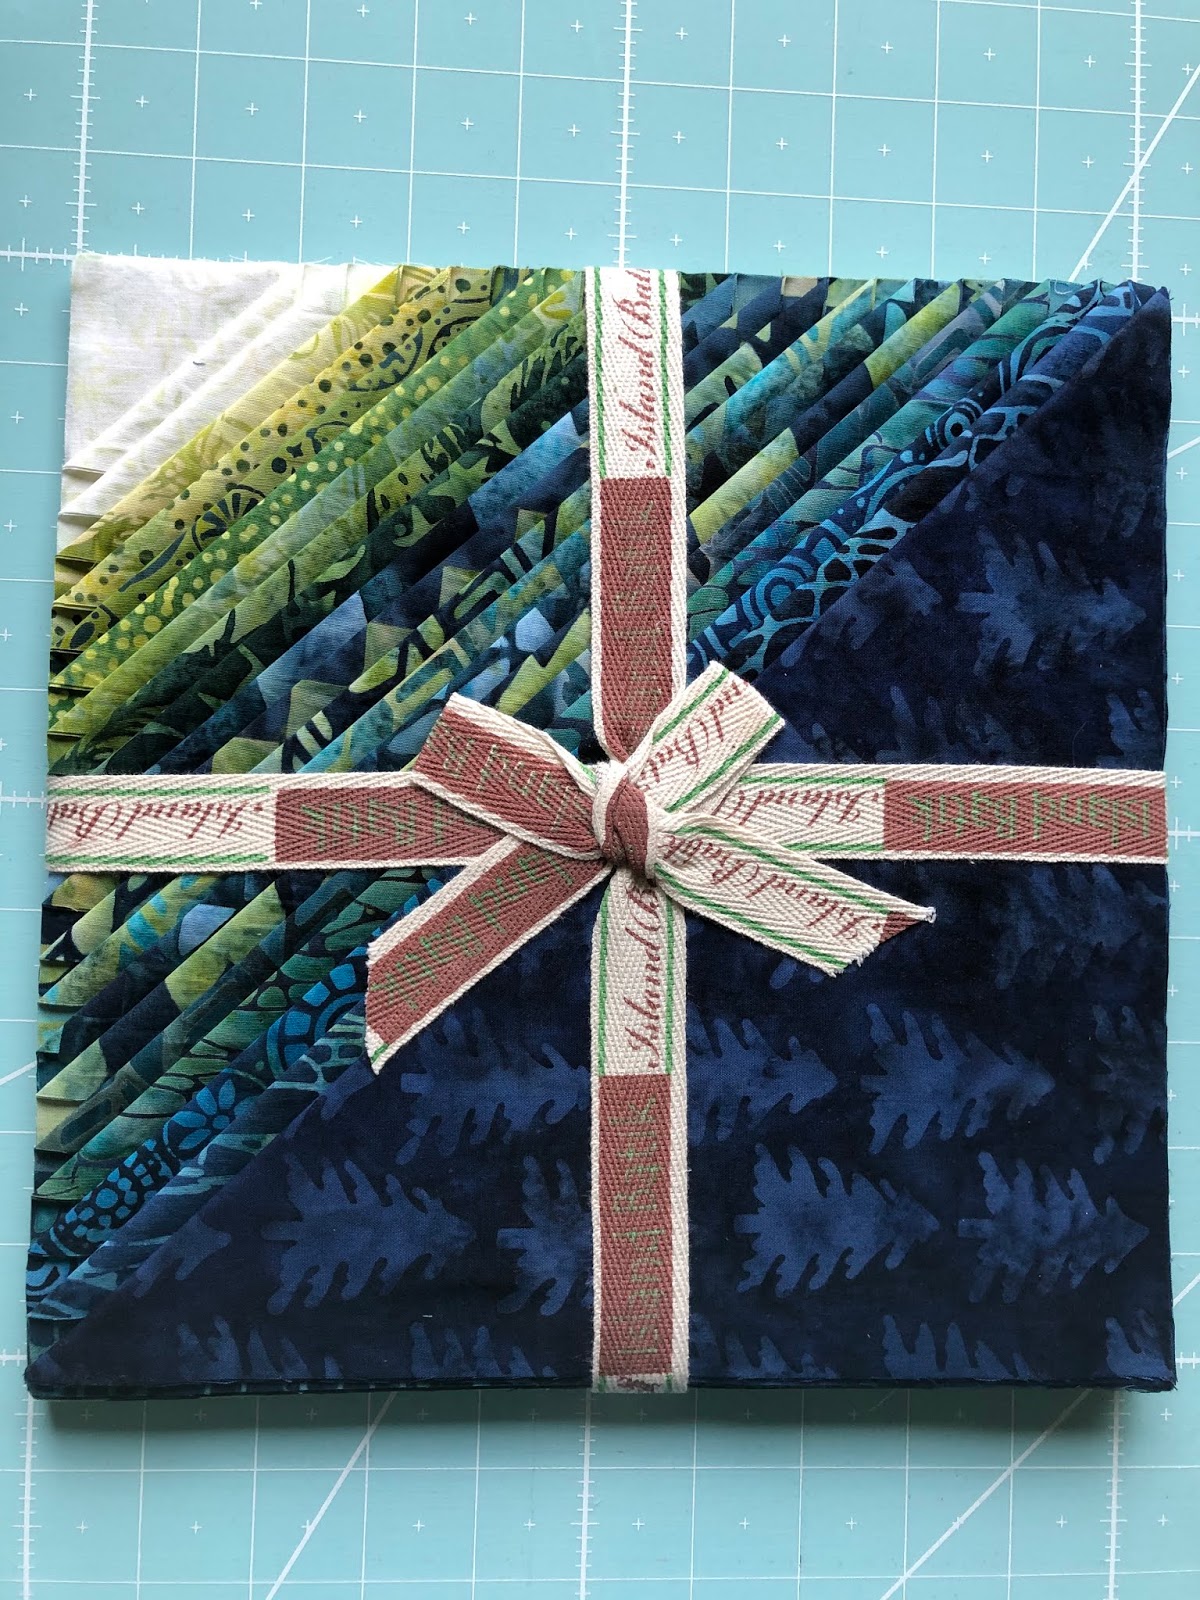
The first challenge was to choose among the wonderful fabrics provided by Island Batik! That big box of fabric that arrived at the beginning of the year is actually starting to get a little emptier and I have to consider the future challenges that are coming our way in the next few months. I decided that the stack of 10 inch squares in the River Valley line designed by Kathy Engle would be a good choice. I've been itching to come up with something interesting to do with squares, and I love this collection! The greens and blues featured in this package, they are really lovely, and remind me of a shady glen near a lazy river!
But first the blocks! I got to work on EQ8 and came up with a plan for blocks I could cut that would use 10 inch squares. I used my Accuquilt GO! to cut out the pieces for the blocks. The 8 inch Qube had all the right dies for this block. I am always excited when I realize that I can cut my pieces with the GO! because it means I don't have to trim any dog ears after sewing! Plus, because you can cut 6 layers at once, I was able to divide my fabrics into light, medium and dark and cut all the pieces for six blocks in a super efficient manner. The main trick is to cut your larger piece first, then fit the smaller ones around that. There was definitely plenty of room for my pieces, and just a bit of scrap left over at the end.

For my background, I had a piece of what I think is parchment...it has a yellowish tone to it, and blended so nicely with the fabric. In addition I had 2 yards each of Glacier and Cheerio (BE21D1) in a deep blue to go with them, so plenty of fabric to come up with a creative border. Since this line of fabric features a lot of green, I decided to use the Dolomite Color Builder set from Aurifil that I received in my January 2020 Ambassador Box for the piecing as well as the quilting.

The light green was perfect for all the piecing!

When I got the blocks done it was time to decide on a border. I originally thought I might do a pretty scalloped border, but this quilt just didn't seem to call for curves at this point, I really felt that it needed more points. Luckily, there are a variety of built in pieced borders in EQ8, and I decided on using Big and Little Points In. It was a hard choice because there are so many fun options for borders! I love using EQ8 because it really gives you a great way to visualize how your finished quilt will look before you cut up your fabric. Here is one of the many variations I came up with.

I could have spent a whole month just playing with designs, but in the end decided to keep it simple with only six blocks and a pieced border. Can you see all those half square triangles in this idea? Who knows, maybe someday I will want to make a border like this, though.

Once the border units were pieced, I did some design wall testing, and tried laying them out with the dark blue points toward the center. I liked this version, too, but started thinking about binding at this point, and when the idea of prairie points struck, I decided that my original plan with the blue points facing in was going to be the winner.

The very first quilt I ever made had a prairie point edging, and I've only added them to one more project over the years, so I definitely had to do some research on the best way to add them. I decided to add a facing to the back to cover the seam allowance, so was able to complete the machine quilting before adding the points to the outside.

I used all three spools in the Dolomite Color Builder Box. The light for the background and light fabrics, the medium for the medium fabric and the dark for the centers and dark blue borders. Yes, I quilted with green thread on blue which worried me at first, but it looks wonderful! I did what I call squiggles (wavy lines) from point to point (center to points in the middle stars). I added a curvy echo to the background and loops int the border triangles. I think the curvy quilting adds a lot to a very geometric quilt, and gives it a nice softness.

I used the same Hobbs Heirloom 100% cotton with scrim that I used for last months challenge (Storm at Sea), but this time I quilted my quilt more heavily. This quilt is still nicely soft and drapes well. The batting quilts just as well doing free motion as it did using my walking foot, and it gives a nice soft loft to my quilt. I was very pleased with the results, especially with the edges because with the prairie points and pressing the seam allowance with batting toward the back I was worried about it being bulky - but it was just fine! And the Schmetz Chrome needle glided through all the layers with no problem at all!

For the large triangles in the border I free motion quilted long triangles. I probably could have spaced them a little more evenly, but they don't look half bad! I used the remaining squares from the River Valley package for the prairie points, making good use of most of the package (and made me happy that I only made six blocks)! I used the fabric left from the backing (I used the Glacier fabric for this as well) and cut strips to make the facing for the back. You can see the quilting really nicely from this side - I love the texture!

I had to hand stitch the edge down, but that was actually a nice relaxing task to work on over a few days. Luckily I wasn't in too big of a hurry as I decided that I wanted to write a pattern for this quilt!

Putting my best foot forward and showing off the nicest corner on the back!

And taking advantage of a break between showers to get a nice photo - duct tape on the back, stuck to my garage door! Then a little later, when the swing was dried off, a pretty picture in the back yard!

I think you can see how pretty these fabrics are! It's kind of nice that the pre-cuts are actually available in shops before the yardage because once you see all the lovely pieces in the collection, you know what you want yardage of later. I definitely fell in love with several of these and will be looking for them this summer when they are available!
 |
| Twilight Glen Pattern on Etsy |
Thanks again to Island Batik and all of the wonderful industry partners of the Island Batik Ambassador program. I love working with all of you, and am happy to share your products because I honestly enjoy using them! May is a Blog hop month and we'll be showing you all of the new lines that will be shipping out to your local shops over the summer. Be sure and follow all the Island Batik Ambassadors, there will be lots of great projects and giveaways to win!


3 comments:
This is great Pam!
So pretty!! I love the colors in River Valley! And your prairie points look fantastic--prairie points are on my quilty bucket list, still haven't tackled them yet!
I love this. The one with the thousand triangles is for a time when you don't have a million things at once going! I love the quilting you did, the prairie points and the facing. Bravo!
Post a Comment